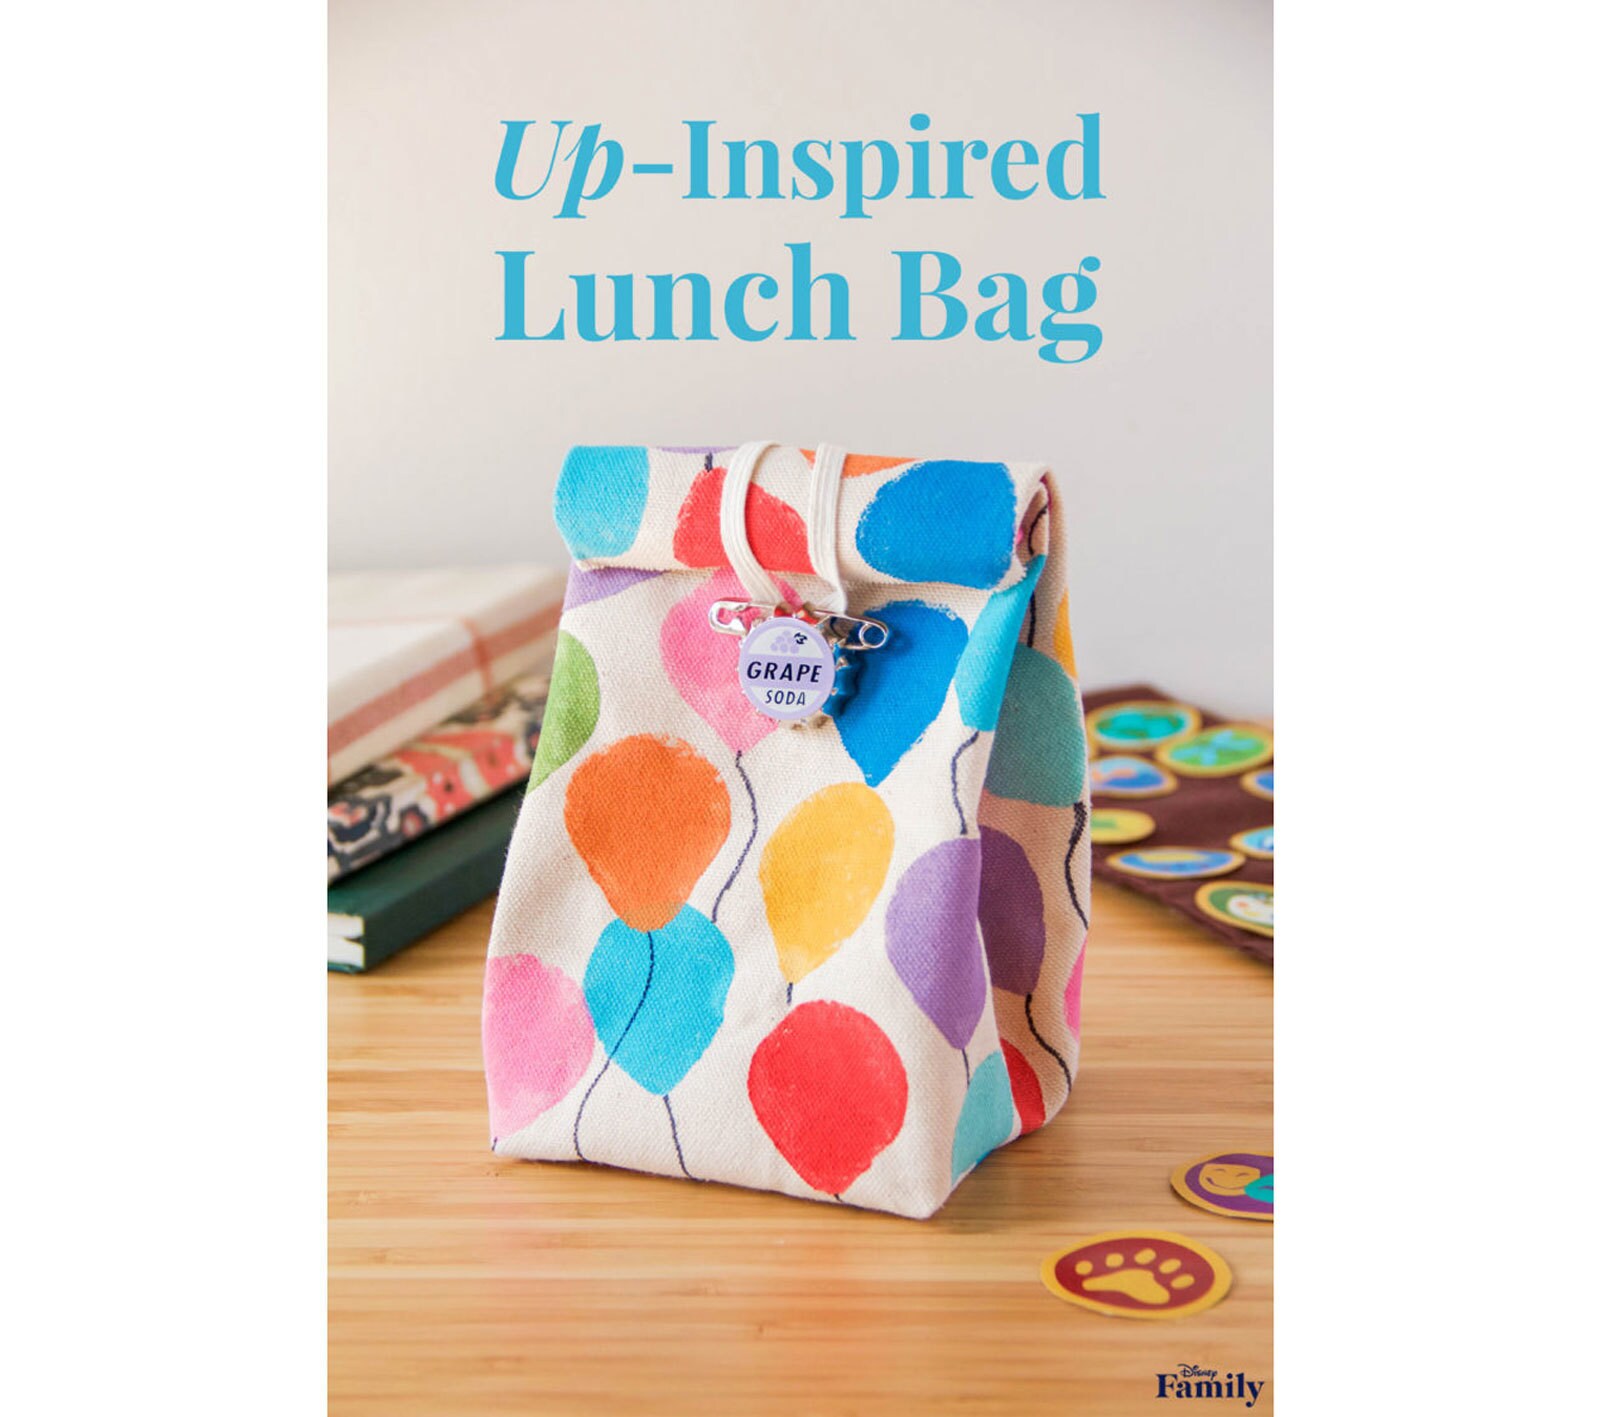
A DISNEY•PIXAR UP LUNCH BAG FOR YOUR WILDERNESS EXPLORER
By Disney Family
To hold all of the delicious snacks your kiddos need on their adventure!
Every Wilderness Explorer needs a lunch bag fit for adventures, and this one fits the bill. Lunch time is sure to be magical for your little one with this DIY lunch bag inspired by the beloved Disney•Pixar classic – Up!
What You’ll Need
• Ruler
• Pencil
• Thin canvas fabric
• Scissors
• Potatoes
• Paring knife
• Colorful paint
• Paint brushes
• Black felt tip pen
• Pins
• Sewing machine
• Thread
• Hand-sewing needle
• Elastic
• Button
Notes
All cutting and sewing should be done by an adult. An alternative to sewing is hot gluing, but be sure to line foot with a paper bag when using.
How To Make It
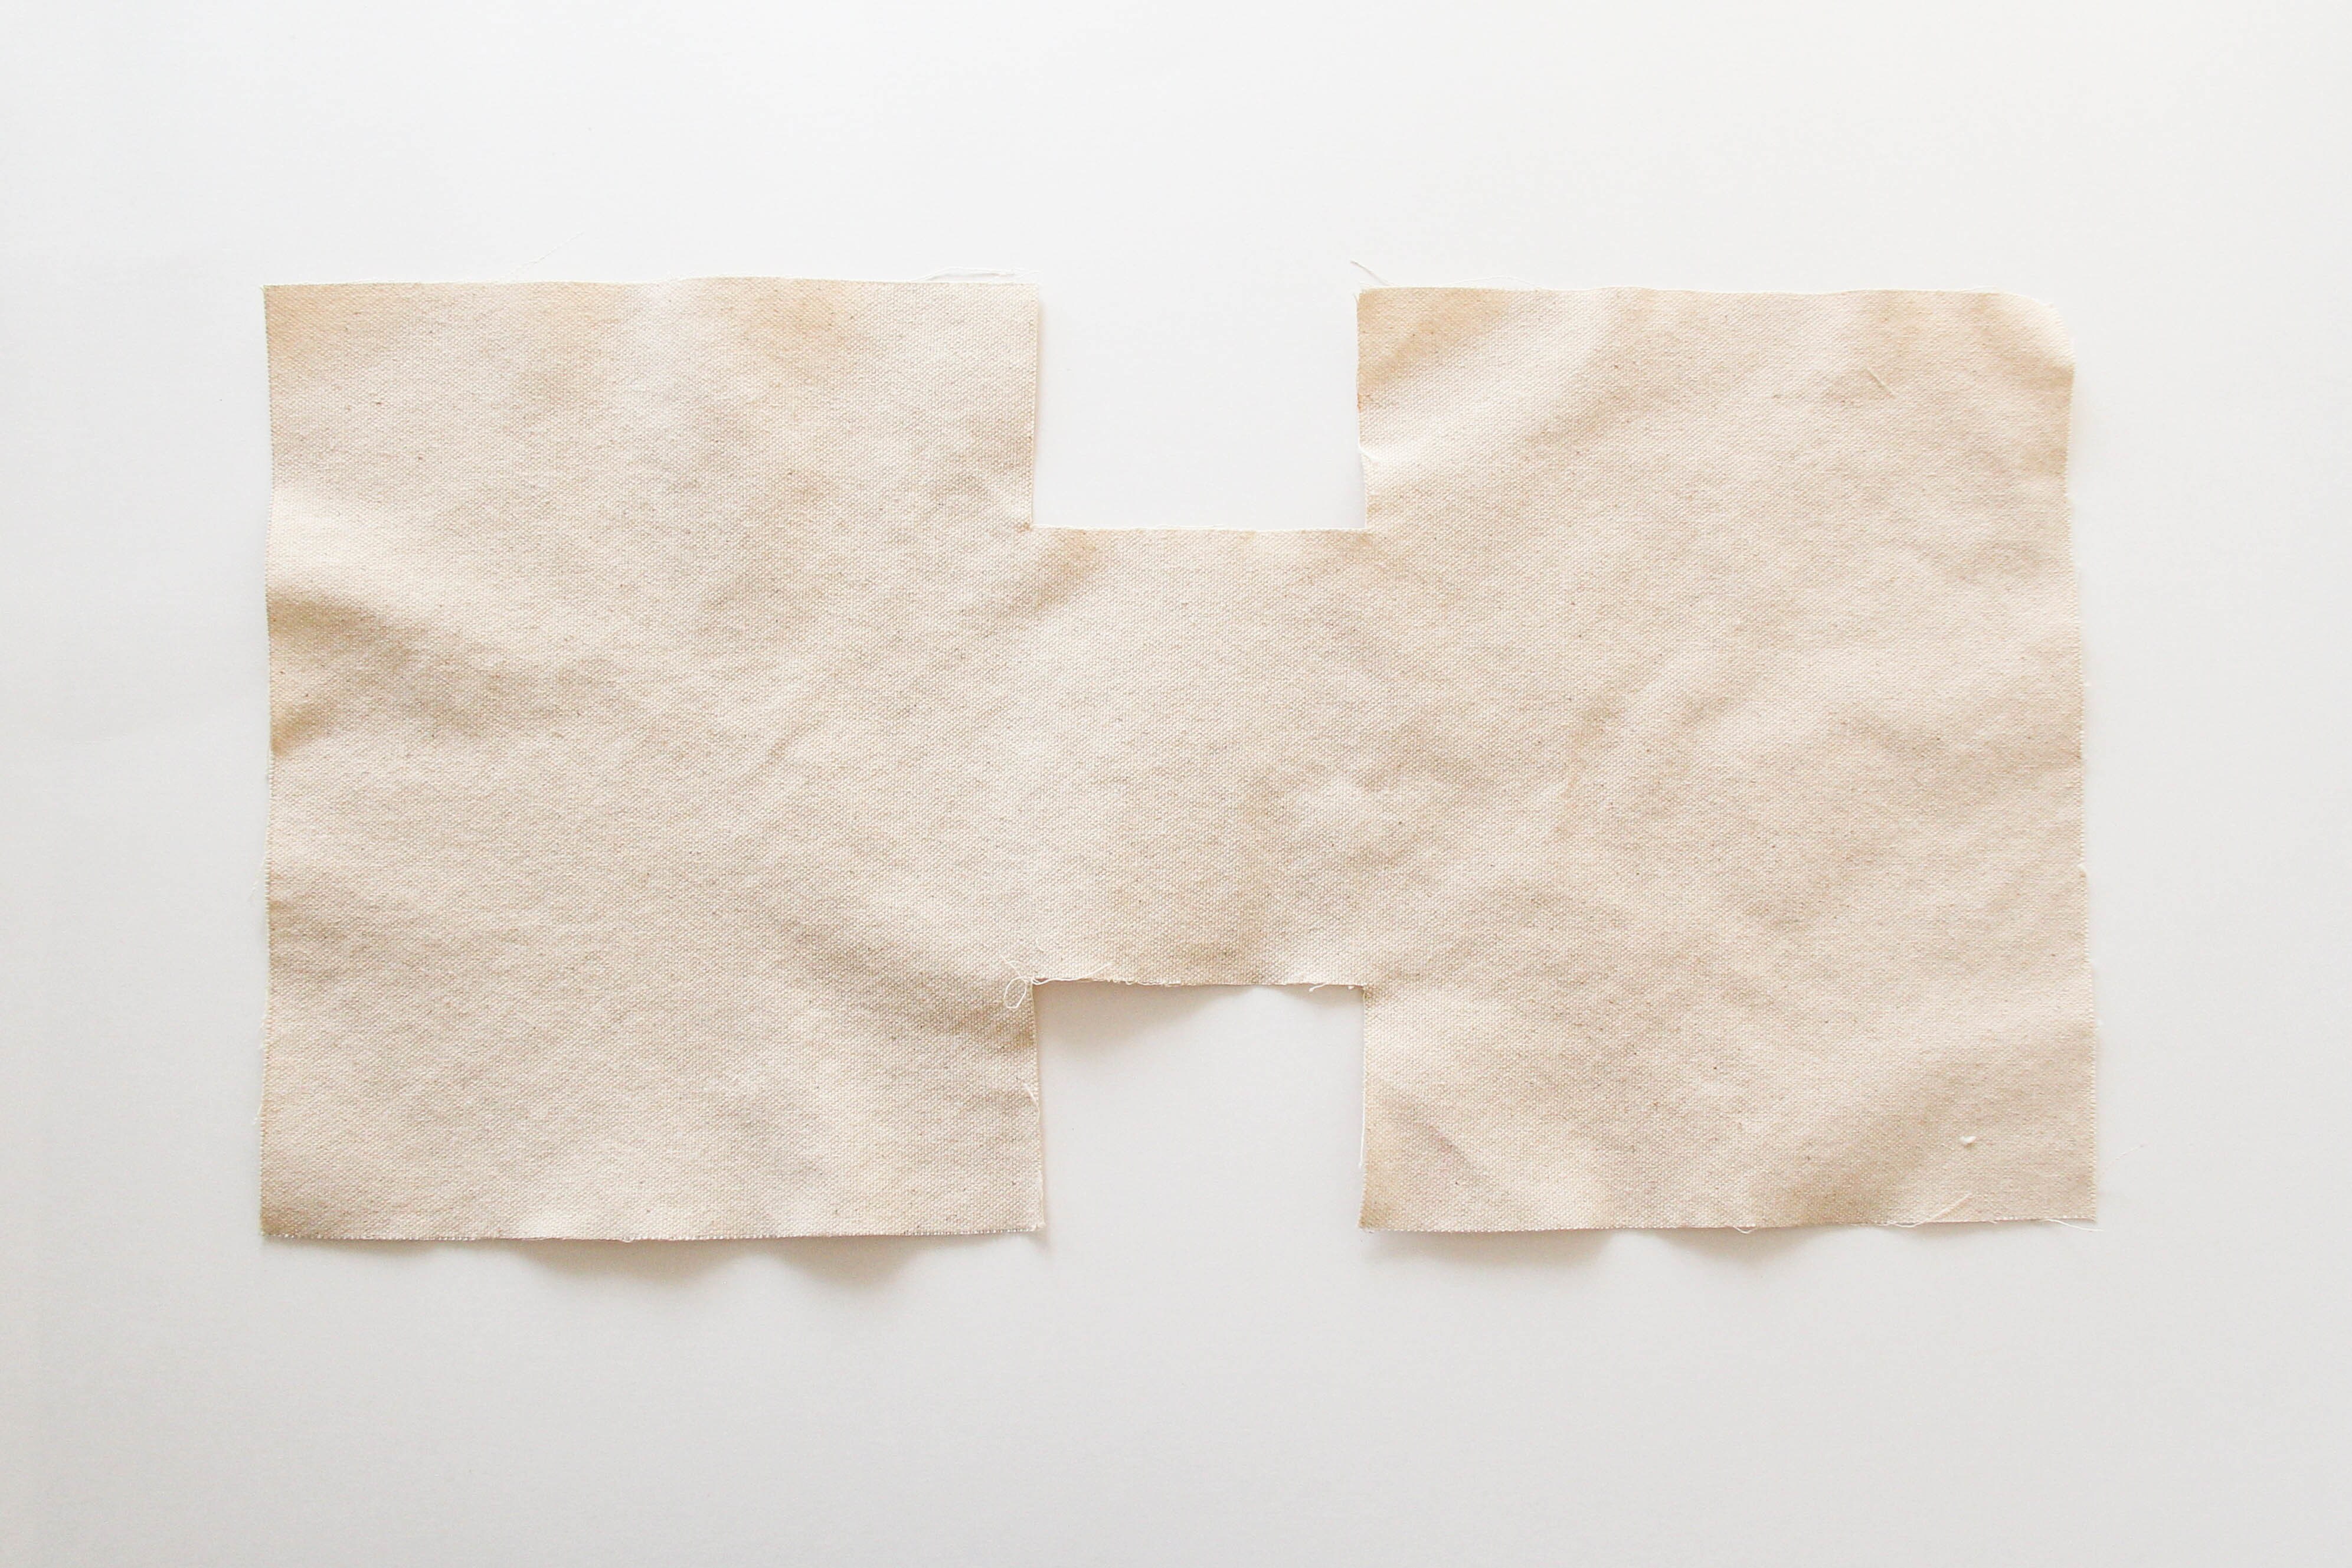
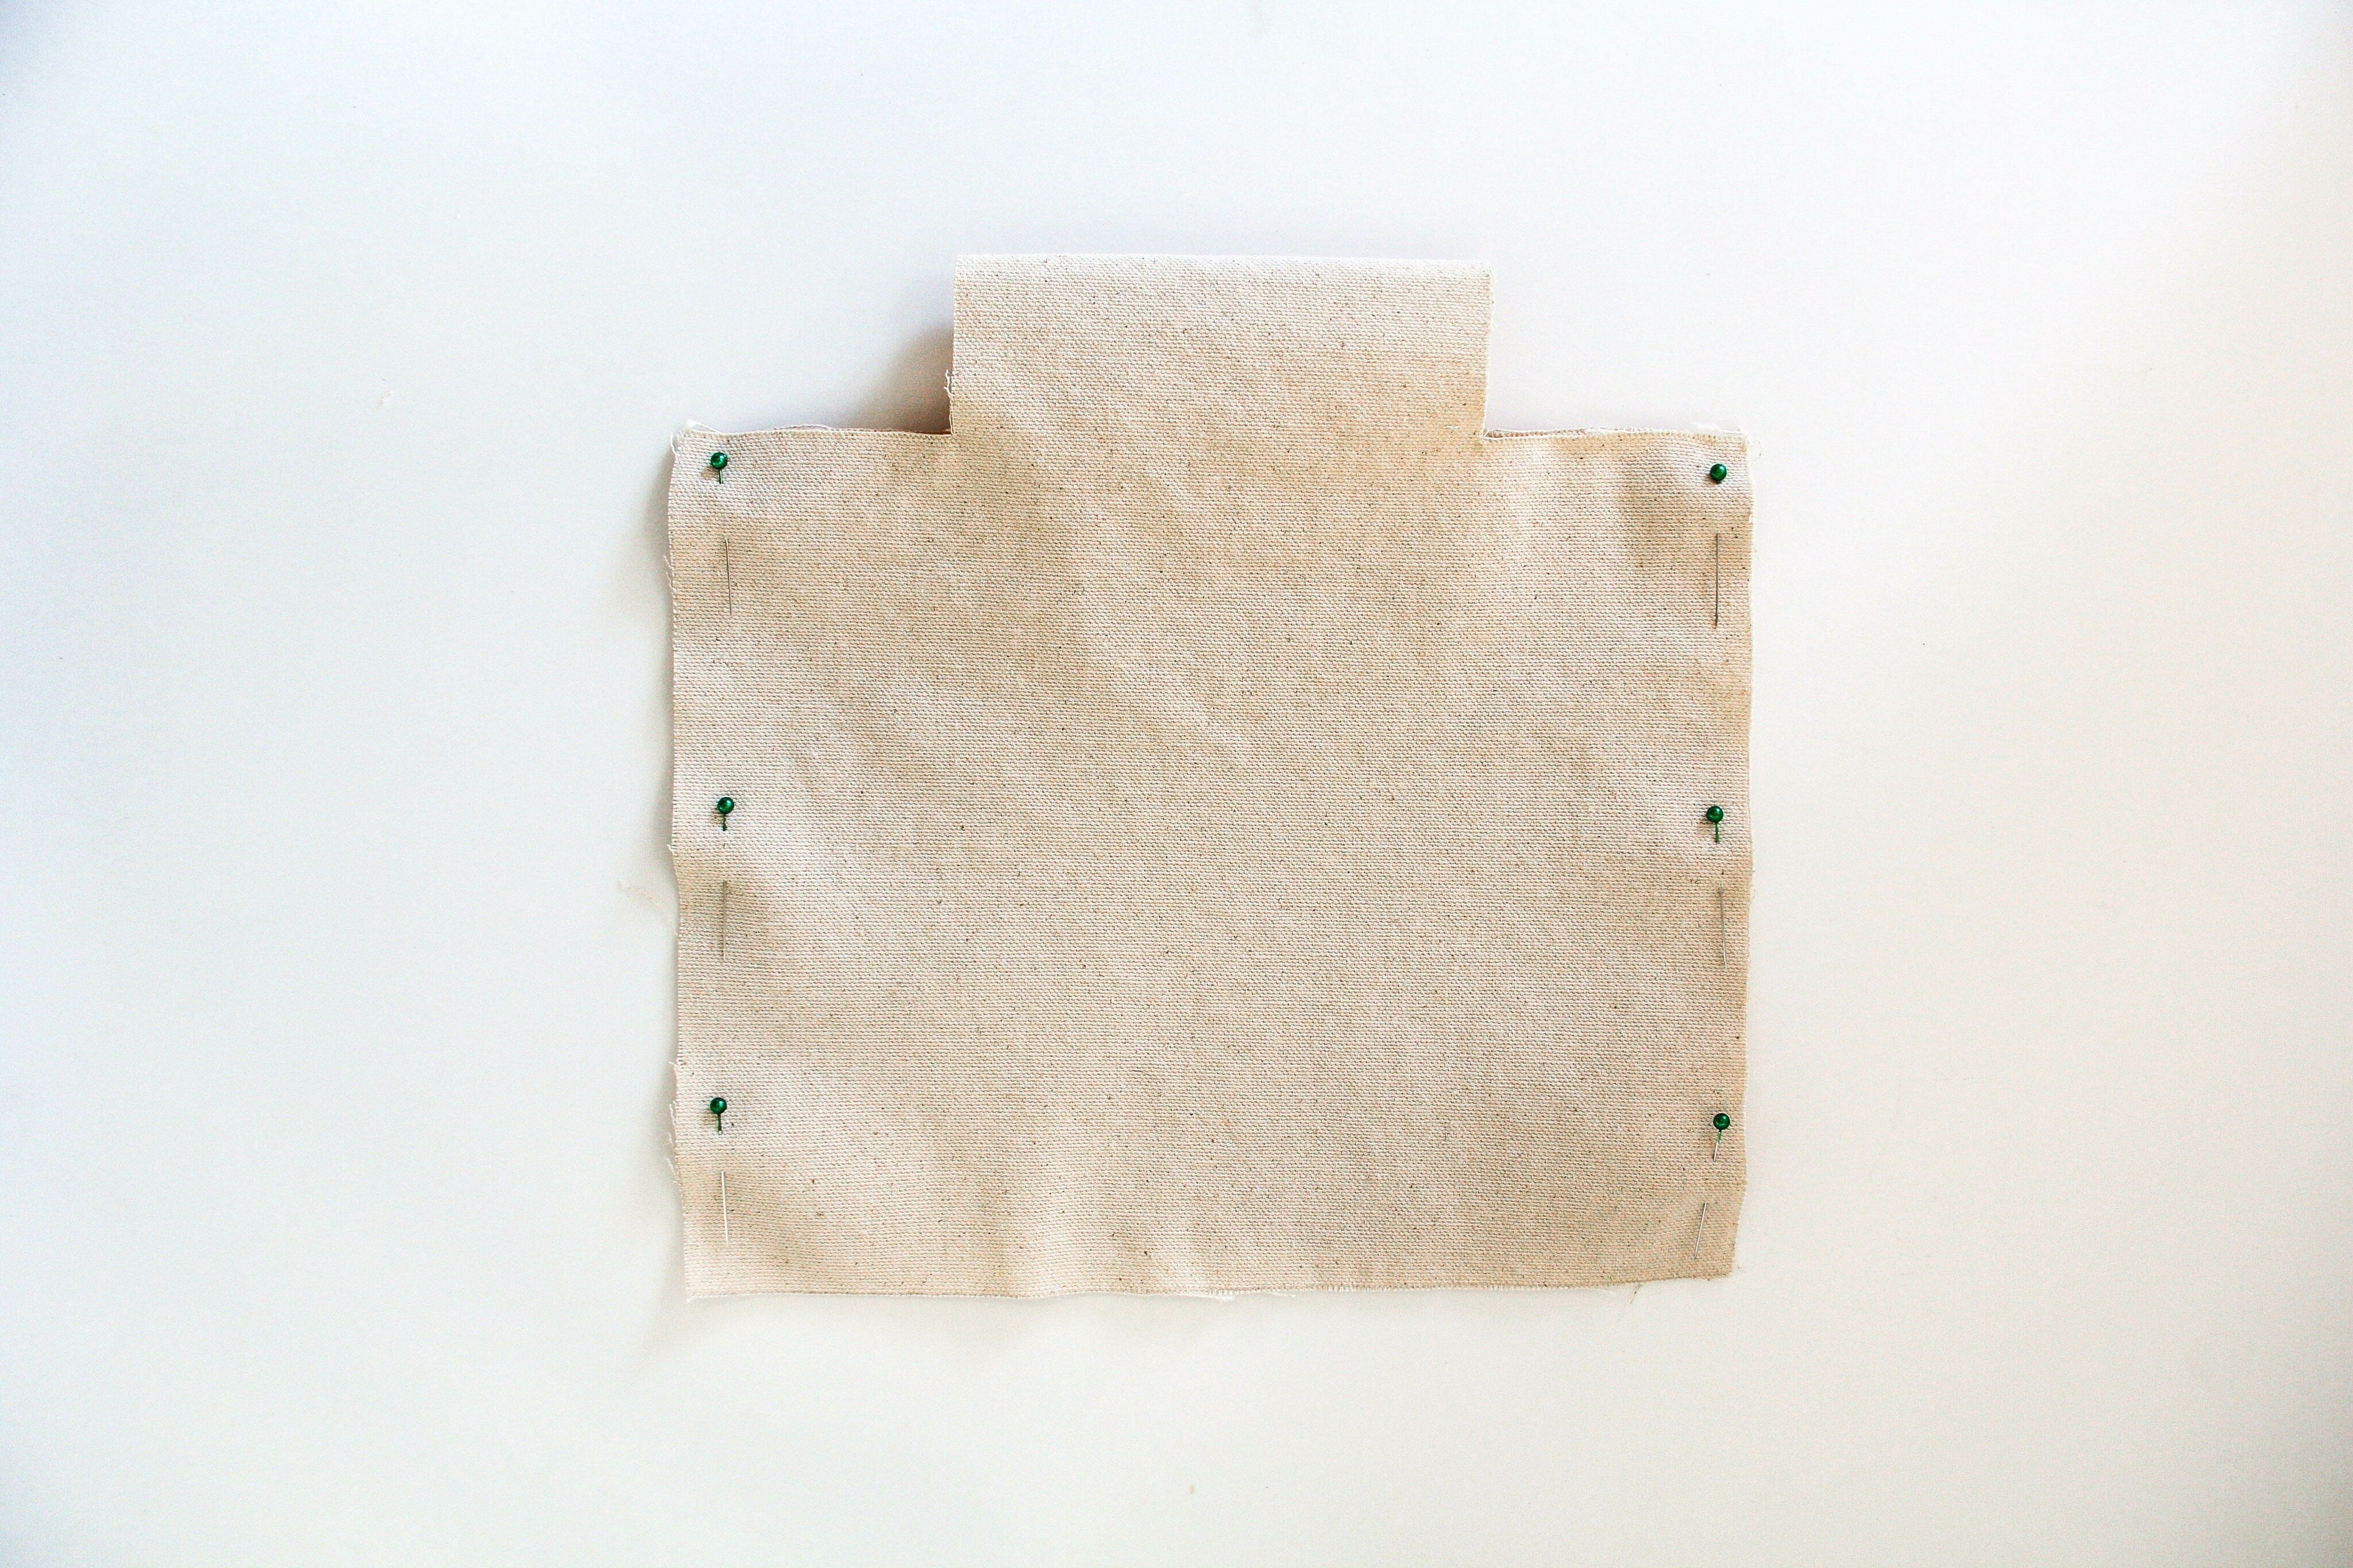
1. Draw the lunch bag pattern onto the canvas with a pencil and ruler, then cut it out. It should be 10” wide and 8 1/2” high, and have even cut-outs in the middle.
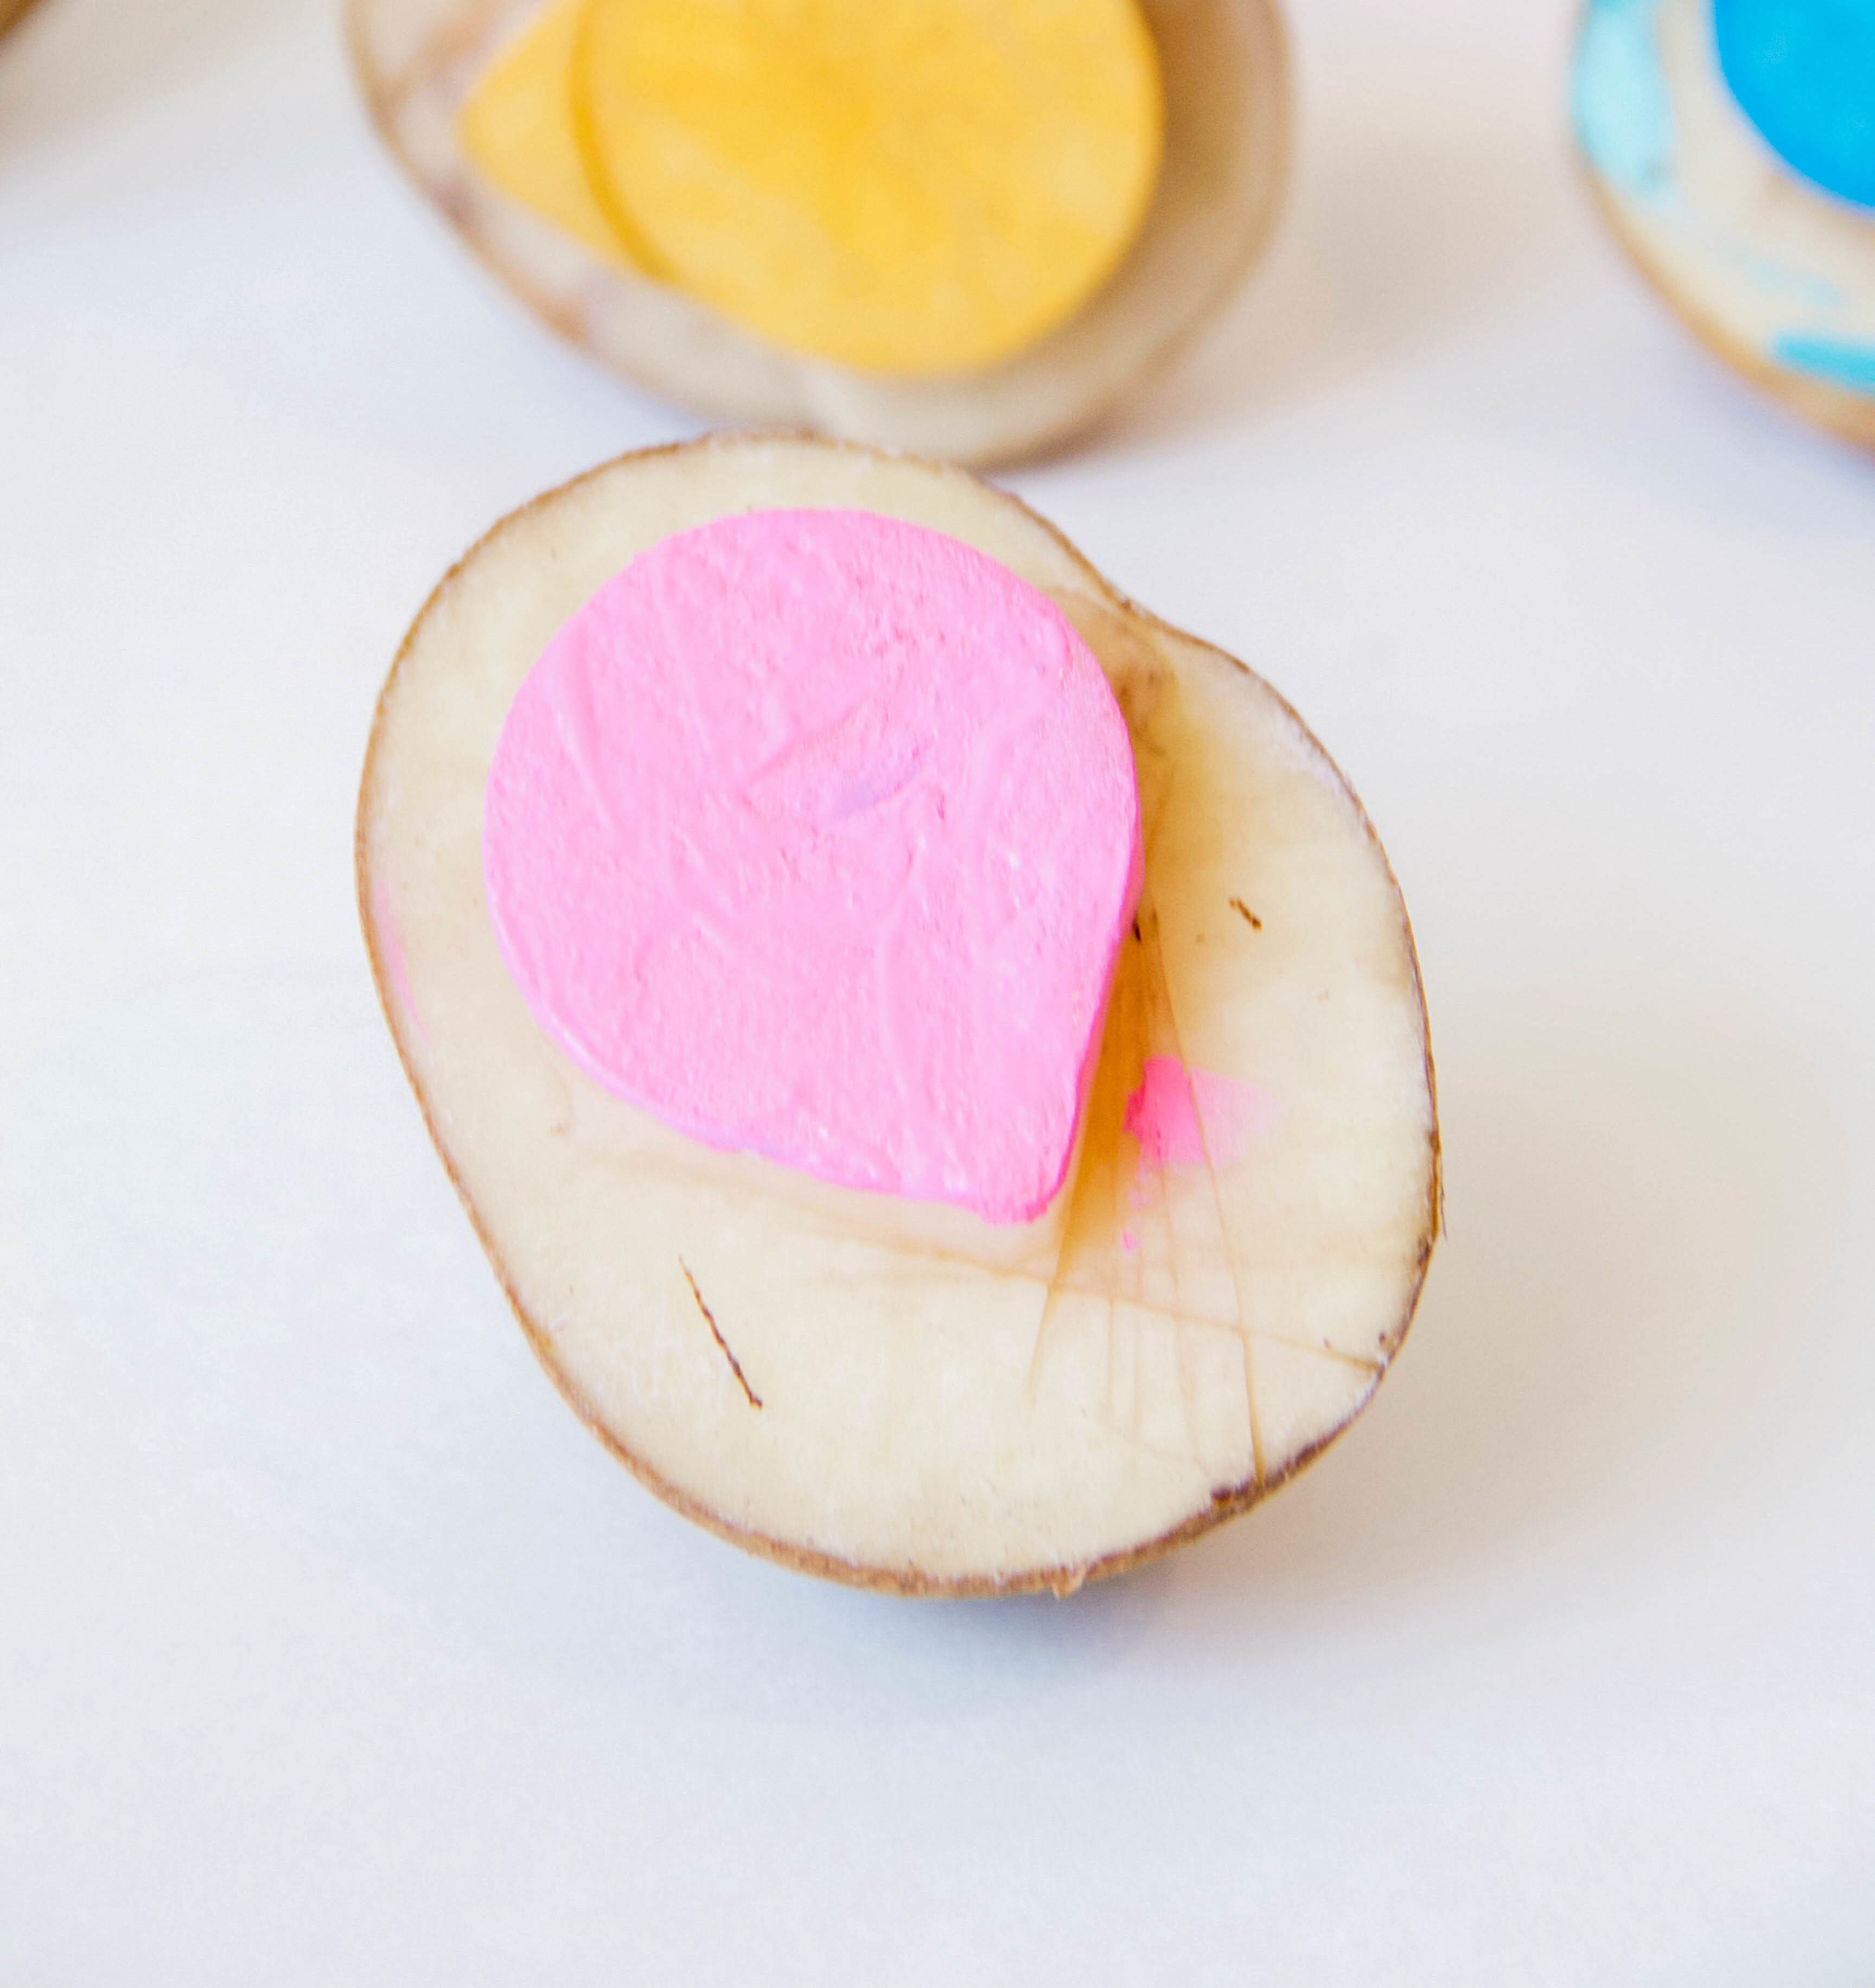
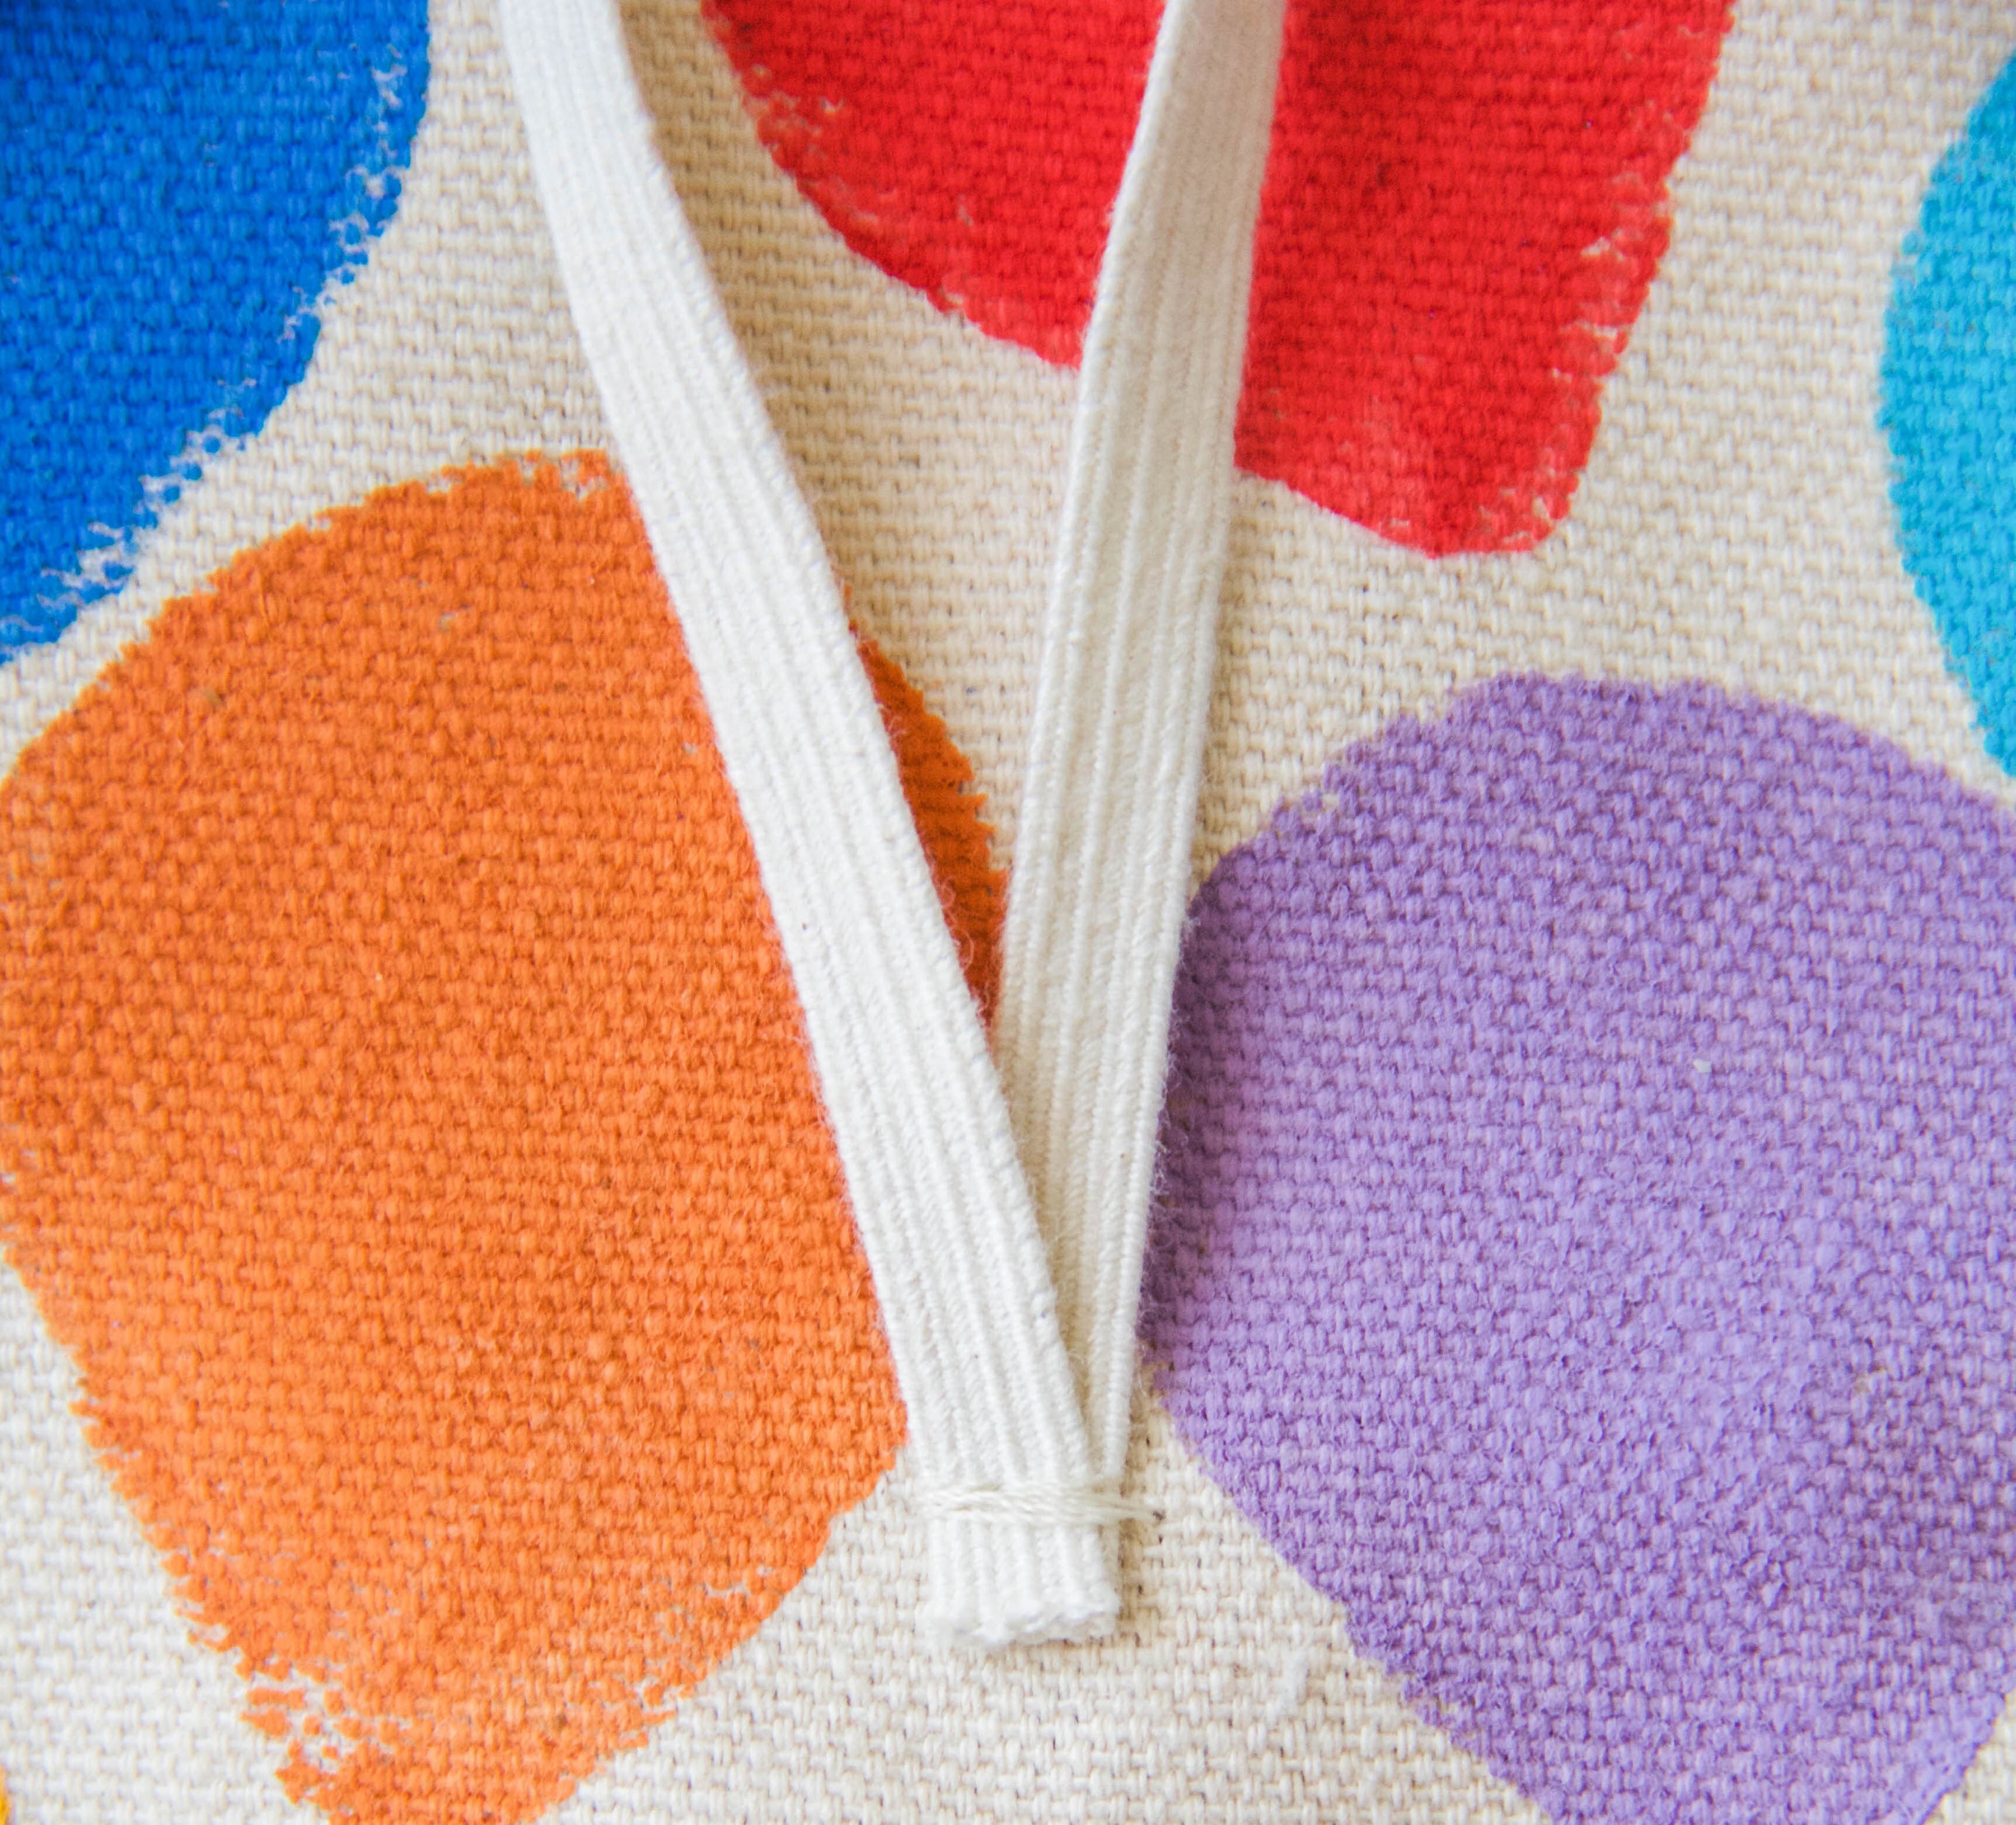
2. To create the stamps, cut the potatoes into half, then cut out a balloon shape. Paint the steps, then press onto the canvas!
3. Once the paint has dried, draw a string on the bottom of each balloon.
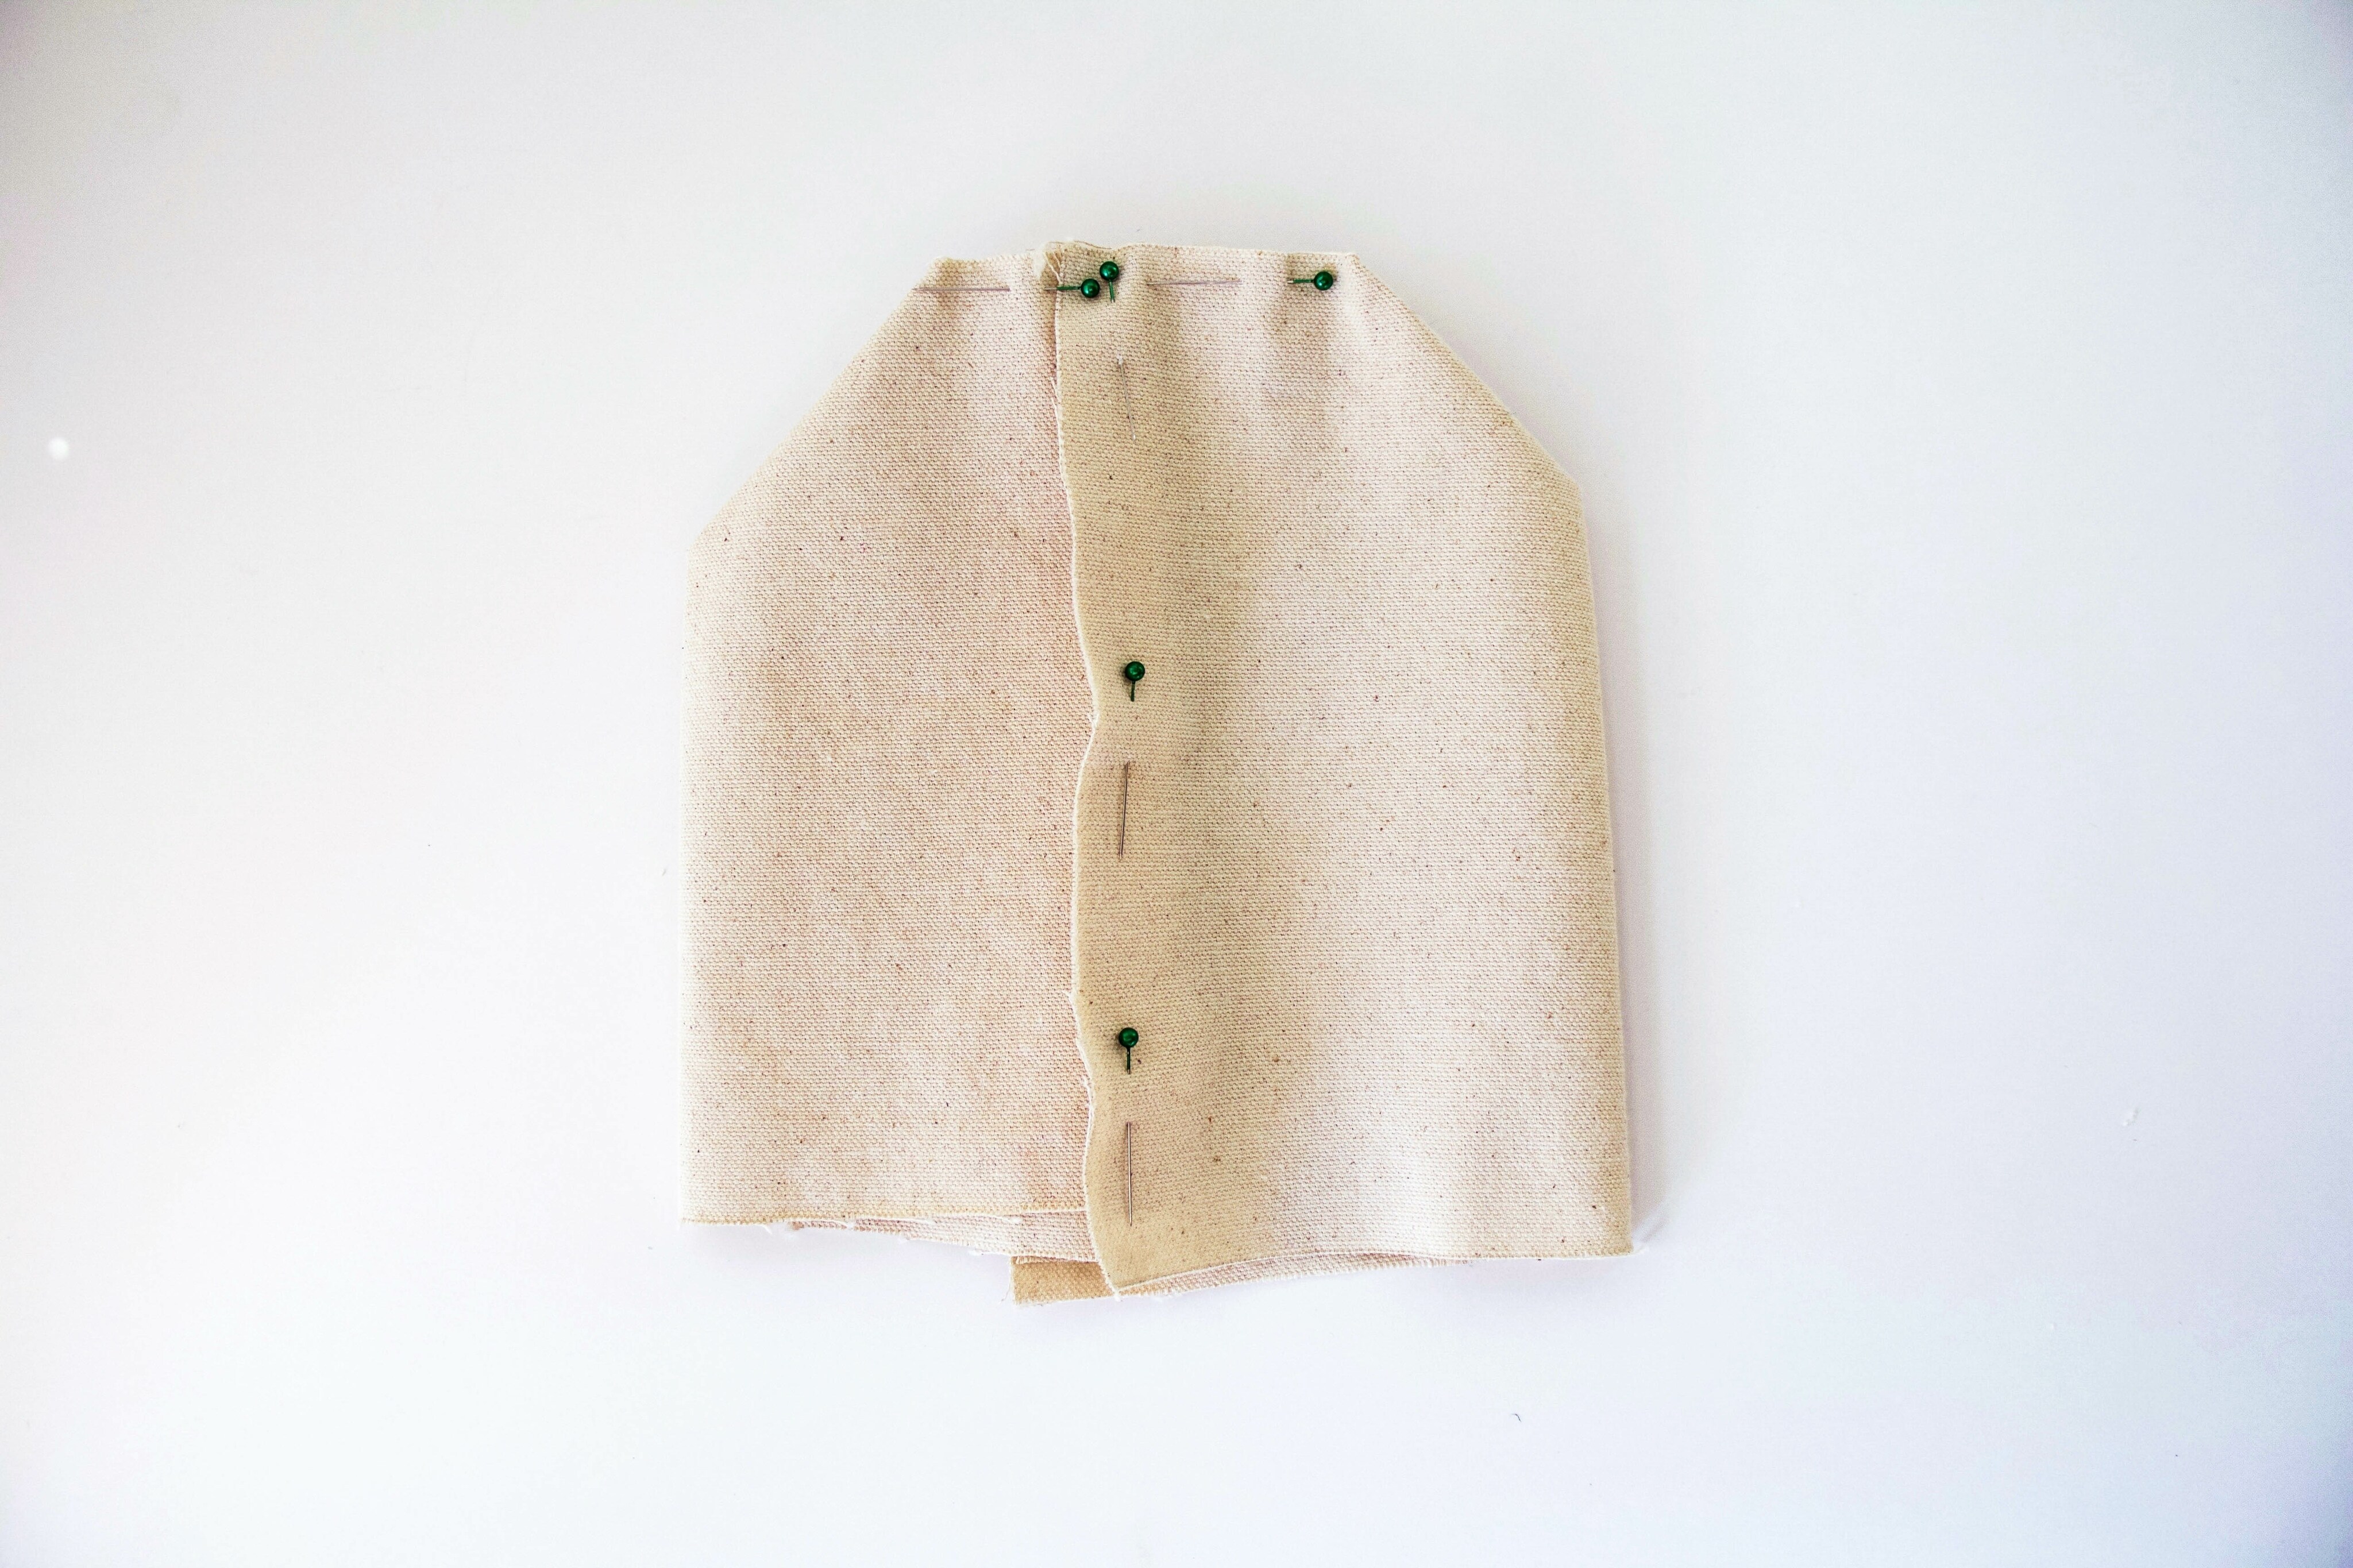
4. With the balloon pattern facing inward, fold the bag into half and pin the sides together. Then, sew along both sides that you’ve pinned.
5. Press down that seam, pin the bottom and sew across both sides of the bottom.
6. Flip the bag so that the painted side faces the outside. Roll the top down and measure where the button and elastic should go.
7. Cut the elastic (about 8”), then hand sew it onto the back of the bag. Next, add your button to the front and loop elastic around the secure.